The Analyst's
Unfair Advantage.
Intelligence. Strategy. Defense.
Cyber Analyst Academy is the platform serious analysts use to stay ahead — real-time global threat intelligence, structured training, and professional-grade tools. Built by practitioners, for practitioners.
The pocket-ready penetration testing reference trusted by cybersecurity professionals and students. Stop wasting time searching through notes and forums, instantly access the exact commands, syntax, attack chains, and context you need, whenever you need them.
- Linux - Essential commands, privilege escalation, file operations, networking, and system administration references
- Networking - TCP/IP, DNS, routing, packet analysis, troubleshooting, and network diagnostics made practical
- Offensive & Defensive Security - Pentesting techniques, hardening practices, detection methods, and incident response workflows
- Real-Life Scenarios - Practical attack simulations, field-ready methodologies, and real-world cybersecurity use cases
A practical beginner’s guide to cybersecurity, penetration testing, hands-on labs, and startup building. Learn real-world skills step by step while developing the technical mindset needed to enter the cybersecurity industry and build innovative projects from scratch.
- Cybersecurity Foundations - Learn Linux, networking, reconnaissance, web security, and core security concepts step by step
- Startup & Innovation Guidance - Discover practical ideas and strategies to create your own cybersecurity startup from scratch
- Built for Beginners - Structured for students, aspiring analysts, ethical hackers, and self-taught learners entering cybersecurity
Everything serious analysts
rely on. In one place.
From real-time threat feeds to structured training and OSINT tools, built for professionals who need accuracy, speed, and depth.
World Events Map
Real-time geopolitical and cybersecurity incident mapping across 100+ countries. Conflicts, cyberattacks, disasters - geolocated as they happen.
Open MapCyber News Feed
Aggregated from CISA, Mandiant, Unit42, BleepingComputer, and 25+ authoritative sources. Auto-categorized by threat type.
View FeedAcademy & Training
Structured courses on threat intelligence, OSINT methodology, incident response, and cyber strategy. From beginner to practitioner level.
Start LearningProfessional Tools
Curated directory of 35+ professional tools - OSINT, threat intelligence, pentesting, malware analysis, and digital forensics.
Browse Tools
Research, briefings,
and field analysis.

Endpoint Detection and Response (EDR) has become one of the most critical pillars of modern cybersec...
Read Brief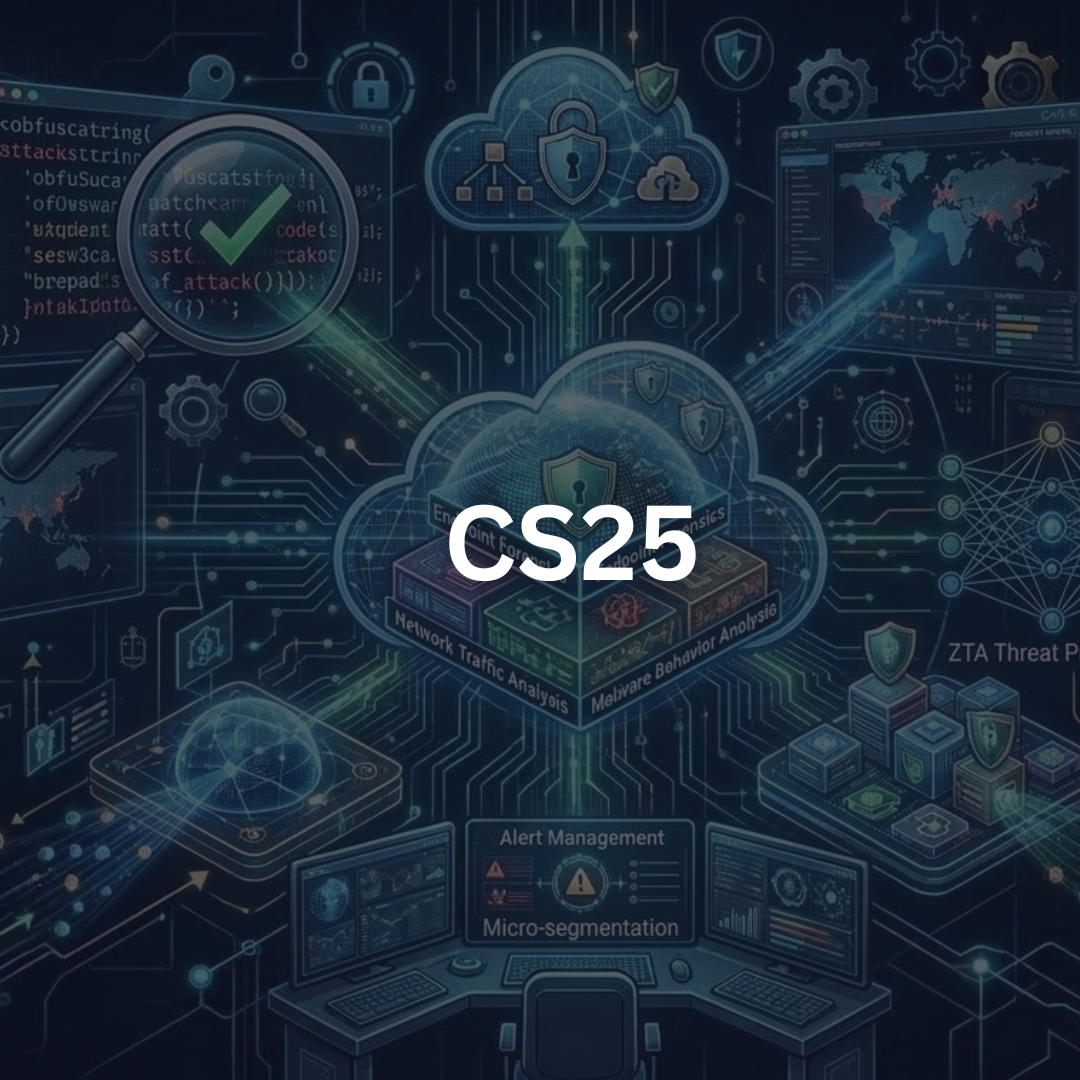
Security Information and Event Management (SIEM) platforms sit at the operational heart of modern Se...
Read Brief
In modern cybersecurity operations, detecting threats is no longer about installing tools or enablin...
Read Brief
Stop watching
cybersecurity.
Start building real skills.
The Book teaches you the foundations. The App gives you field-ready commands and references. Together, they create a practical cybersecurity toolkit designed for beginners, students, aspiring analysts, and ethical hackers.
The pocket-ready cybersecurity reference trusted by professionals and students. Access Linux, networking, pentesting, offensive security, and real-world attack references anytime — even offline.
Download on App StoreA beginner-friendly practical guide to cybersecurity, penetration testing, hands-on labs, and startup building. Learn Linux, networking, recon, web security, and real-world cybersecurity concepts step by step.
Get the Book on Amazon